

Hello friends! My husband and I have been talking about switching our daughter to a big girl bed for a little bit now, so I have been looking for a cute twin bed for her.

This vintage poster bed popped up on Facebook Marketplace for $10 the same day she decided to ruin her curtain during naptime instead of climbing out of her crib, so we went and got it!!!


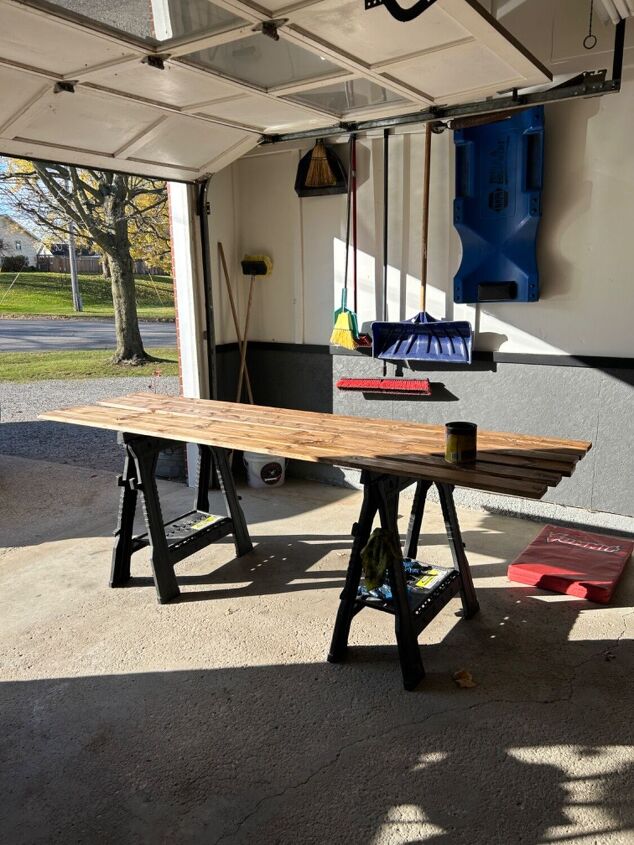
For the bed slat issue, I considered just getting a metal bed frame and putting it inside this wood bed frame, but I didn't want to see the legs of the metal frame and I didn't want a post coming down in the middle of the bed, since I want to store her Nugget play couch under her bed. So, I picked up six 1x4x8 pieces of common pine to use for the slats instead.

While my bed slat boards were drying, I used my wet stain cloth and went over any scratches/gouges I could find on the bed frame.


After I touched up all the scratches/gouges, I went over the whole bed frame with this Old English conditioner/cleaner. I followed the instructions on the bottle - rubbed the product on, let it sit for a bit and then wiped it off with a clean cloth.

I recommend using this oil on any used wood furniture! It not only brings the piece back to life, but it cleans as well. I had already cleaned this whole bed and my rag was nasty dirty again after rubbing the oil on.


The side rails that came with this bed were metal and they had three little notches on each side where I assume a slat had previously gone. My husband wanted me to make sure the two side rails were connected somehow, since we couldn't nail or screw the slats to the metal. We decided to use these miniature L brackets to go underneath three of the slats.

I cut each of my slats to size (40.5" in this case) and attached the L brackets to the bottom of 3 slats. This allows the non-connected part of the L bracket to go into the groove on each of side rails to prevent them from bowing out.

The remaining slats are just sitting in place, but they can't fall through because they are too long - they need to be pushed sideways and pulled out to be removed.

Since my daughter just turned three and this is her first bed after her crib, I got her bed bumpers to prevent her from falling off. I also got her a new mattress, quilt, mattress protector and sheet to fit her new bed! I looked at several twin mattresses in store and the selection under $500 was small and not comfortable, so we took a chance and ordered her a hybrid mattress on Amazon. I chose THIS ONE and it's very comfortable!! For the price, we are pleasantly surprised!

It turned out SO CUTE!! What do you think!?
Links to these products:
*May contain affiliate links


0 Comments:
Post a Comment