

Hi friends! When shopping for cribs, I wasn’t finding anything I loved, so we decided to build exactly what I had in mind! I followed Shanty2Chic’s plans for their crib and modified them to be the height and style I had in mind. We also made sure to hand select our lumber - we wanted really straight boards and didn’t want a lot of rough knots, etc.

For the back of the crib, the plans call for 2x6s around all edges, and we changed that to be 2x4s on the sides and bottom, then we did a 1x3 trim piece with a 0.5” overhang on both sides and then another 2x4 on top of that with 0.5” overhang. We kept the overall dimensions of the back of the crib the same as the plans. The center of the headboard are 1x6s with pocket holes and 1.25” screws attaching them together. We also had to rip a 1x4 board down to 3” to accommodate the smaller size of the 2x4s we used vs the 2x6 sides in the plan. I also changed the height of the back of our crib to be a total of 51” vs the 58” the plans show.

We added the barn door trim to the center per the plans.

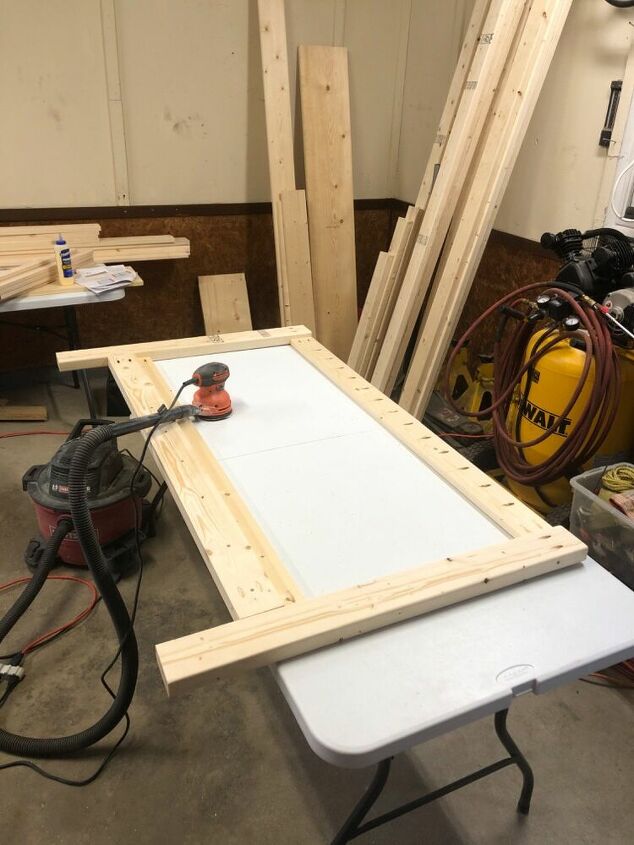
For the many spindles on the sides and front of the crib, we chose to use select pine 1x2s. They were smoother with no knots for the baby to catch a finger on. We did still have to do a lot of sanding though! We went over all of the edges with 80 grit and then over each spindle really well with 220 grit sand paper. We actually sanded so much, we burnt up our orbital sander, so I would recommend spending a little more money on a really good quality orbital sander that has a vacuum attachment if you tackle this project!


We followed the plans exactly to create both of our side rails.
For the front rail, the plans called for 2x6s on the outside for the legs and we changed those to 2x4s. We also changed the height of the legs. I wanted 6” under the crib to be able to have storage baskets underneath, so we cut our legs to be 5” longer than the plans show (the plans had a 1” gap under the crib initially). We also had to make the bottom and top runners longer to accommodate for the 2x4s instead of the 2x6s in the plan as well. We cut our top and bottom runs to 52.5” and our top 2x4 trim piece to 61.5”. We also had to have 15 spindles on the front, instead of the 13 the plans show, since our front piece was bigger than the plans. For the spacing of the front spindles, the plans show 5/8” on each end and then 2” between every spindle - we changed ours to 1” on each end and then kept 2” between each spindle.

We followed the plans for the bottom braces that will hold up the mattress as well.

Once we had all of our pieces made, we attached them per the plans to test fit everything and then disassembled so I could stain them. I used Minwax Special Walnut for the stain.

😍😍😍

I also sealed the whole thing with a coat of Minwax Polycrylic. This was definitely not an easy project, but it was so worth the work!
Update: I’ve had several people reach out and ask for a shopping list and cut list. HERE are the Shanty2Chic plans I printed out back when we built the crib and wrote my modifications on! Please feel free to message me on Instagram or send me an e-mail with any questions!
Links to these products:
*May contain affiliate links
Milwaukee Orbital Sander (A good sander for this project is ESSENTIAL)
Torx Extension Bit (You will need to make sure the extension bit fits the screws purchased. This will be used to put the screws into the pocket holes.)


0 Comments:
Post a Comment